はじめに
前回の続きの記事になります。
今回は、画像から画像を作成する、つまり元画像に、コマンドでリクエストして画像を変更してもらうAI処理を試してみたいと思います。
これで絵が下手な人でも、プロ並みの絵が描けるかも・・・
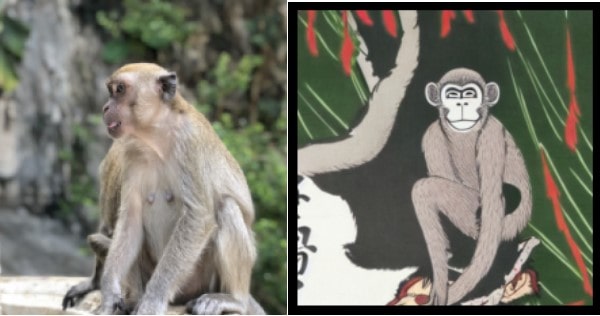
例えば、こんな風にマレーシアの猿を浮世絵風に変えるみたいなことも出来ます。

準備
前回と同じなので、省きます。
(Hugging Faceのトークンを取得しておいてください。)
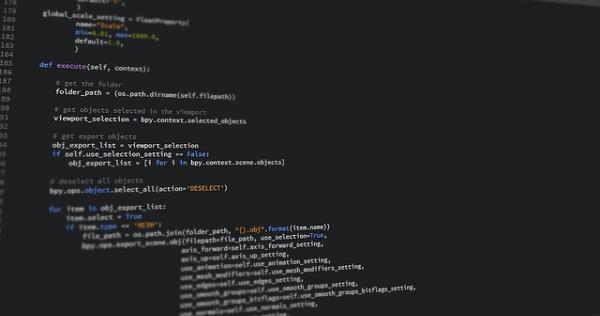
Google Calaboのプログラム
元になる画像ファイル
今回のプログラムは、「source.png」でファイルをアップロードしてお使いください。
セットアップ部分
#@title **セットアップ**

# ライブラリのインストール
! pip install transformers scipy ftfy
! git clone https://github.com/huggingface/diffusers.git
! pip install git+https://github.com/huggingface/diffusers.git

# アクセス・トークン設定
Access_Token=""#@param {type:"string"}
前準備
import torch
from diffusers import StableDiffusionImg2ImgPipeline

pipe = StableDiffusionImg2ImgPipeline.from_pretrained(
    "CompVis/stable-diffusion-v1-4",
    revision="fp16",
    torch_dtype=torch.float16,
    use_auth_token=Access_Token
).to("cuda")
出力用設定
import matplotlib.pyplot as plt
Num = 10 #@param {type:"number"}
Strength = 0.63 #@param {type:"slider", min:0, max:1, step:0.01}
Guidance_scale = 10.9 #@param {type:"slider", min:0, max:20, step:0.1}
Prompt = '' #@param {type:"string"}
画像生成部分
from PIL import Image
from torch import autocast

# 画像生成
init_image = Image.open("source.png").convert("RGB")
init_image = init_image.resize((512, 512))

# 生成
for i in range(Num):
    with autocast("cuda"):
        images = pipe(
            prompt=Prompt,
            init_image=init_image,
            strength=Strength,
            guidance_scale=Guidance_scale,
            num_inference_steps=50,
            generator=None,
            )["sample"]
    images[0].save(f"outputs_{i:04}.png")

# 表示
for i in range(Num):
    plt.imshow(plt.imread(f'outputs_{i:04}.png'))
    plt.axis('off')
    plt.show()
パラメータは以下のとおり設定してみてください。
Prompt:画像への変更指示を書きます。
Strength:入力と出力の相違度
Guidance_scale:入力と出力の類似度
まとめ
いかがだったでしょうか。面白いですよね。
ぜひ色々とパラメータを変えて試してみてください。